

A grab rail only provides reassurance if it stays firmly in place when someone puts their full weight on it. Knowing how to fit grab rails correctly means choosing a suitable rail, locating a secure fixing point and positioning it for the person who will use it. This is particularly important in bathrooms and toilets, where wet floors and awkward transfers can increase the risk of a fall.
For many households, a well-fitted grab rail is a straightforward but meaningful home adaptation. It can make getting in and out of the shower, standing from the toilet or stepping through a doorway feel more manageable. However, a rail fixed only to tiles, a weak partition or unsuitable plasterboard fixings can fail when it is needed most.
Choose the right grab rail before fitting
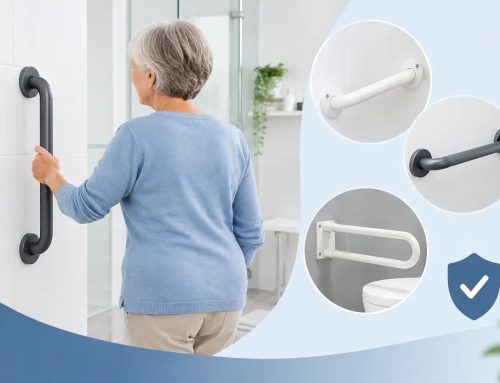
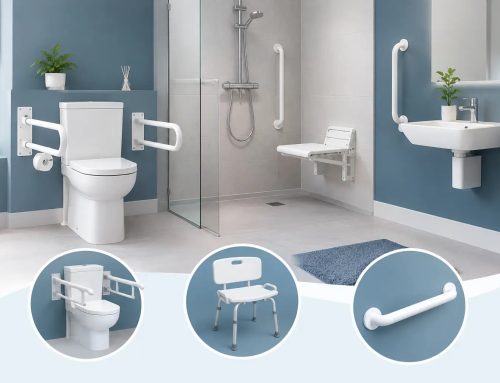
Start with the task the rail needs to support. Straight rails are often used beside toilets, along short routes or next to a shower entrance. Angled rails can provide both a vertical grip for standing and a horizontal section for steadying yourself. Folding support rails are commonly fitted beside a toilet where floor space is limited, while suction grab rails are portable aids for light balance support only and should not be treated as weight-bearing fixtures.
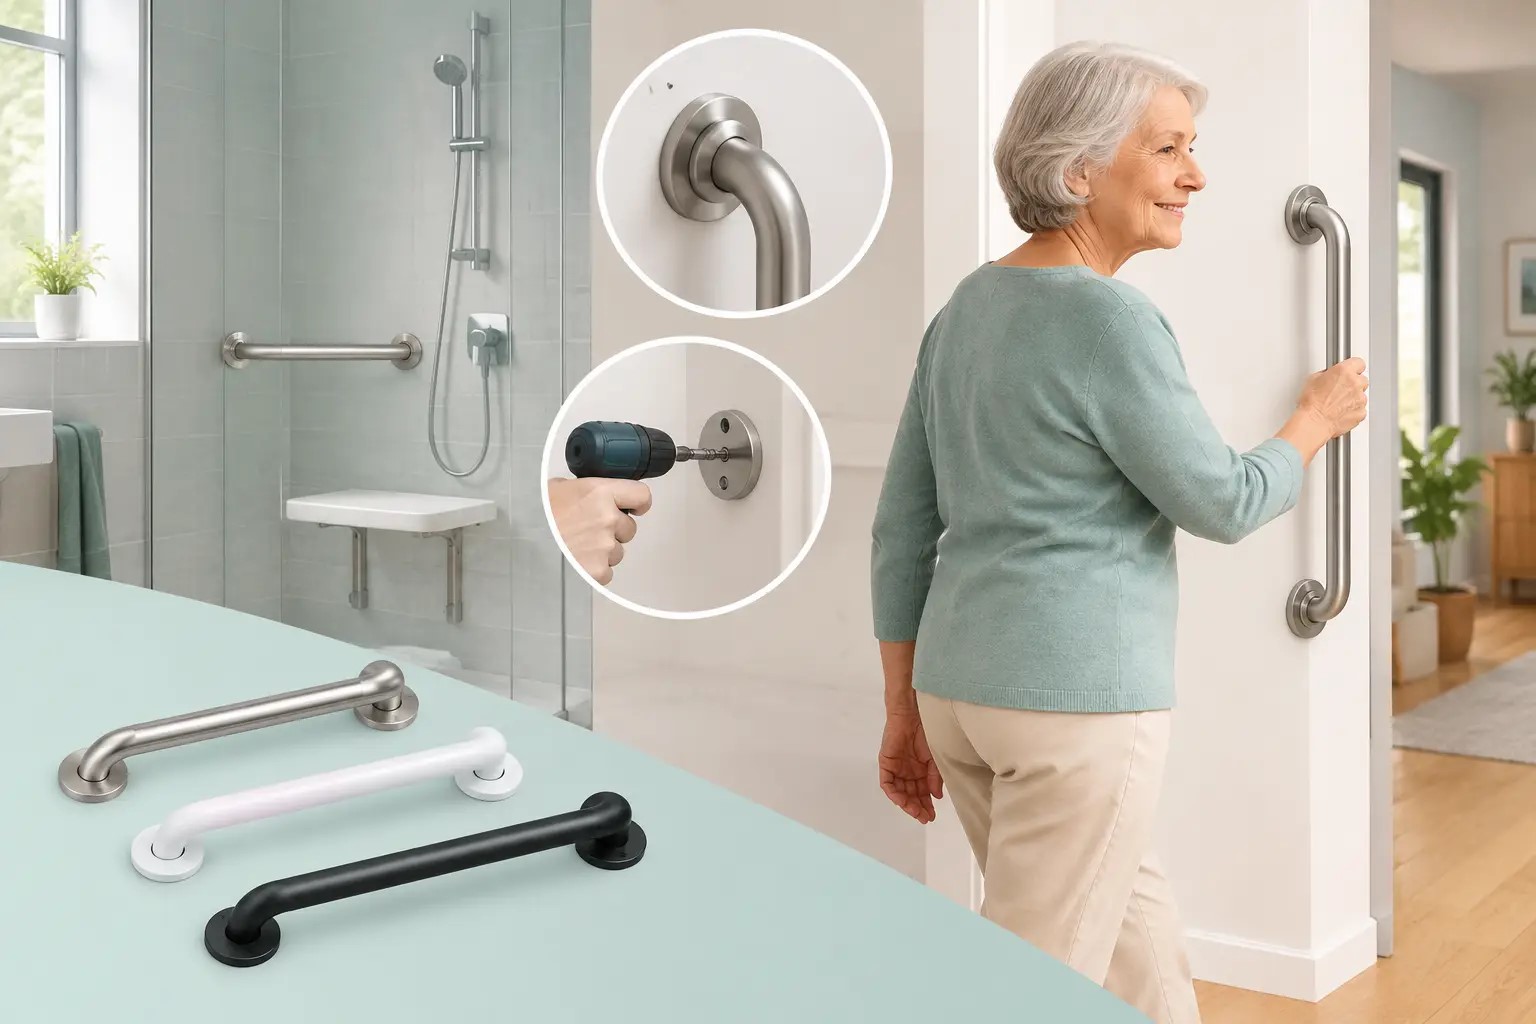
Length, diameter and finish matter too. A longer rail can offer more hand positions, but must suit the available wall space. Many people find a rail with a comfortable, easy-to-grip diameter more useful than a very slim model. In a shower or bathing area, select a rail designed for wet conditions, with a corrosion-resistant finish and a surface that remains secure to hold.
If the rail will be used following surgery, during rehabilitation or by somebody with reduced grip strength, consider their movement rather than choosing by appearance alone. The best position for one person may not suit another member of the household.
Plan where the rail will go
Before drilling, ask the intended user to practise the movement with someone nearby. For example, when rising from the toilet, do they naturally reach forwards, to the side or downwards? When stepping into a shower, which hand is free and where do they need support before crossing the threshold?
The rail should be within easy reach at the point where support is needed. It should not force the user to stretch, twist or lean away from their centre of balance. A vertical rail near a shower entrance may help with stepping in, while a horizontal rail beside a toilet can assist with lowering and rising. An angled rail may be more appropriate where both actions are required.
There is no single fitting height that works for every home. Height should be based on the user’s stature, mobility, reach and whether they use a walking stick, frame or wheelchair. If more than one person will rely on the rail, choose a position that gives the main user secure support without creating an obstruction for others.
Keep the rail clear of shower controls, towel rails, light switches and door swings. Also check that it will not block access for a shower chair, wheeled walker or wheelchair. Mark the proposed fixing points with pencil, then stand back and check the route through the room.
Check the wall can take the load
This is the most important part of fitting grab rails. The rail must be secured into a sound structure that can take a person’s weight and the force applied when they lose balance. Solid brick, blockwork, concrete and timber studs are generally suitable when paired with the correct screws and fixings.
A tiled wall is not automatically a solid fixing surface. Tiles are a finish, not a structural support. Behind them may be masonry, timber battens, plasterboard or a hollow wall cavity. You need to identify what is behind the tile before choosing the fixing method.
Plasterboard needs particular care. A rail fitted through plasterboard into a timber stud can be secure, but a rail fixed only with general-purpose plasterboard plugs may not be suitable for load-bearing support. Specialist heavy-duty cavity fixings can be appropriate in some situations, but their suitability depends on the wall construction, the rail design and the expected load. If there is any doubt, arrange a professional assessment.
Never fit a permanent grab rail using adhesive alone. Adhesive products may have a place for temporary, low-load accessories, but they are not a substitute for mechanical fixings where the rail will support body weight.
Tools and materials for fitting a grab rail
The exact equipment depends on the wall type and rail supplied, but most installations require the following:
- A tape measure, pencil and spirit level
- A drill with bits suitable for tile, masonry, timber or metal
- Appropriate wall plugs, anchors and corrosion-resistant screws
- A stud detector where timber or metal studs may be present
- Safety glasses, plus a tile punch or masking tape to help prevent drill slip
Check the rail manufacturer’s fitting instructions before buying screws or plugs. Some rails are supplied with fixings, but these may not suit every wall. In bathrooms, screws should be suitable for a damp environment to reduce the risk of rusting over time.
How to fit grab rails step by step
Once you have confirmed the position and wall construction, hold the rail in place and use a spirit level to ensure it is straight where required. Mark every screw hole through the fixing plates. Do not rely on one mark or assume both ends of the rail will line up without checking.
If drilling through tile, place masking tape over each marked point to improve grip for the drill bit. Start slowly with a tile or multi-material bit, without hammer action, until you pass through the tile face. Pushing too hard can crack the tile. Once through the tile, change to the correct setting and bit for the material behind it.
Drill each hole to the depth needed for the selected fixings. Clear away dust, insert the wall plugs or anchors, and position the rail over the holes. Fit the screws gradually, alternating between fixing points so the mounting plates sit evenly against the wall. Tighten until the rail is firm, but do not overtighten, particularly on tiled surfaces, as this can damage the tile or distort the fixing plate.
If the rail has decorative covers, fit them only after checking that all screws are fully secure. Where the fixing plates meet a shower wall, a neat bead of sanitary silicone around the upper and side edges can help prevent water reaching the fixing holes. Avoid sealing the bottom edge completely if the manufacturer’s instructions advise otherwise, as trapped moisture needs a route to escape.
Test the rail properly
After fitting, pull the rail in several directions and apply firm, controlled pressure. It should not move, rotate, creak or pull away from the wall. Check each fixing point and inspect the surrounding tile, grout or wall finish for cracks.
A quick tug is not enough. The rail should be tested in a way that reflects normal use, while keeping somebody nearby for safety. If there is any movement at all, stop using it until the cause has been identified and corrected. A loose rail is more dangerous than no rail because it can give false confidence.
Recheck the rail periodically, especially in damp rooms. Look for loose screws, damaged seals, rust, cracked tiles or movement in the wall. Cleaning with a non-abrasive household cleaner will help keep the grip surface hygienic without damaging its finish.
When to use a professional installer
Professional fitting is the sensible option when the wall construction is uncertain, tiles are expensive or fragile, or the rail is intended to support significant weight during transfers. It is also worth arranging expert help for fold-down toilet rails, multiple rails around a wet room, or installations alongside shower seats, raised toilet seats and other bathroom aids.
An installer can identify hidden pipes and cables, locate suitable structural fixing points and advise where extra wall reinforcement may be needed. This can be especially valuable in newer properties with stud partitions or in bathrooms that have been refurbished over existing surfaces.
The right grab rail can make a familiar room safer without changing how it feels to use. Take time over the position and the fixing method, and treat any uncertainty about the wall as a reason to seek specialist advice before the first hole is drilled.