

A small door threshold can become a daily obstacle when it catches a walking frame, wheelchair castor, mobility scooter wheel or slipper. Knowing how to fit threshold ramps properly helps create a safer, smoother route through the home without making a door difficult to open or creating a trip hazard.
Threshold ramps are usually simple to install, but the right fit matters more than speed. The ramp must match the height and shape of the threshold, sit firmly on the floor and provide a manageable incline for the person and mobility aid using it. A ramp that is too short, too steep or loose at the edges can make access less safe rather than more accessible.
Choose the right threshold ramp first
Before fitting anything, identify where the ramp will be used and how it will be crossed. Internal doorways, patio doors, front entrances and uPVC door frames can all have different threshold profiles. Some have a square lip, while others have a sloped or uneven sill that needs a more flexible solution.
Rubber threshold ramps are a popular choice for low, fixed door lips. Their weight and non-slip base often allow them to remain in place without drilling, making them suitable for many internal doorways. They can usually be trimmed to width where required, although this should be done carefully and only where the product instructions permit it.
Aluminium threshold ramps are generally lighter and may be better suited to entrances, raised sills and situations where a more defined ramp surface is needed. Folding or portable ramps can be useful where the ramp must be moved between locations, but they still need a stable, level base at both ends.
A bridging threshold ramp is designed to span over a raised threshold, rather than run up to one side only. This can be useful for doorways with a central lip, particularly where access is needed from both directions. Check the underside clearance before choosing this type, as the ramp must sit correctly without rocking.
Measure the doorway before you order
A threshold ramp should be selected from measurements, not by estimating the height of the step. Measure the highest point that the wheel, foot or walking aid needs to pass over. For a conventional threshold, this is usually from the finished floor level to the top of the lip.
Also measure the available length on each side of the threshold. The longer the ramp, the gentler the gradient will be. This is particularly relevant for manual wheelchair users, people using a rollator, and mobility scooter users who may struggle with a sharp incline.
Take the doorway width at the narrowest point, including the frame where relevant. The ramp should provide adequate usable width for the equipment without blocking the opening. If a wheelchair or scooter will cross it, allow for the wheel track and steering movement rather than measuring the device at its narrowest fixed point.
You should also check whether the door opens inwards or outwards. A ramp that is too tall or projects into the wrong area may foul the bottom of the door. Open and close the door fully before installation, and consider any draught excluders, door seals or automatic closers that could affect clearance.
Check the gradient, not just the height
For a ramp to feel safe, the height and length need to work together. A low threshold can usually be managed with a compact wedge ramp. A higher lip needs more ramp length to avoid a steep approach.
As a practical rule, many users find a gentler gradient easier to manage, particularly when using a wheelchair independently. There is no single ramp length that suits every property or user. The weight of the mobility aid, the user’s strength, whether assistance is available and whether the area becomes wet all affect what is appropriate.
For permanent external ramps and larger changes in level, building regulations and site conditions may apply. A threshold ramp is not a substitute for a properly designed access ramp where there is a substantial step, uneven paving or a long route from the driveway to the entrance.
Prepare the area before fitting
Clean the floor thoroughly so the ramp sits directly on a firm surface. Sweep away grit, dust and loose debris, then dry the area fully. On an external entrance, remove leaves, moss and anything that could prevent the ramp from lying flat.
Inspect the threshold itself. Loose tiles, crumbling concrete, lifted laminate or damaged timber should be repaired before a ramp is fitted. Adding a ramp over an unstable surface does not solve the underlying problem and may allow movement over time.
Make sure there is a level landing space before and after the threshold. A person using a walking frame or wheelchair needs room to approach, cross and stop safely. Avoid fitting a ramp where it will lead directly onto a loose mat, a steep path or an area that is regularly obstructed by shoes, deliveries or furniture.
How to fit threshold ramps step by step
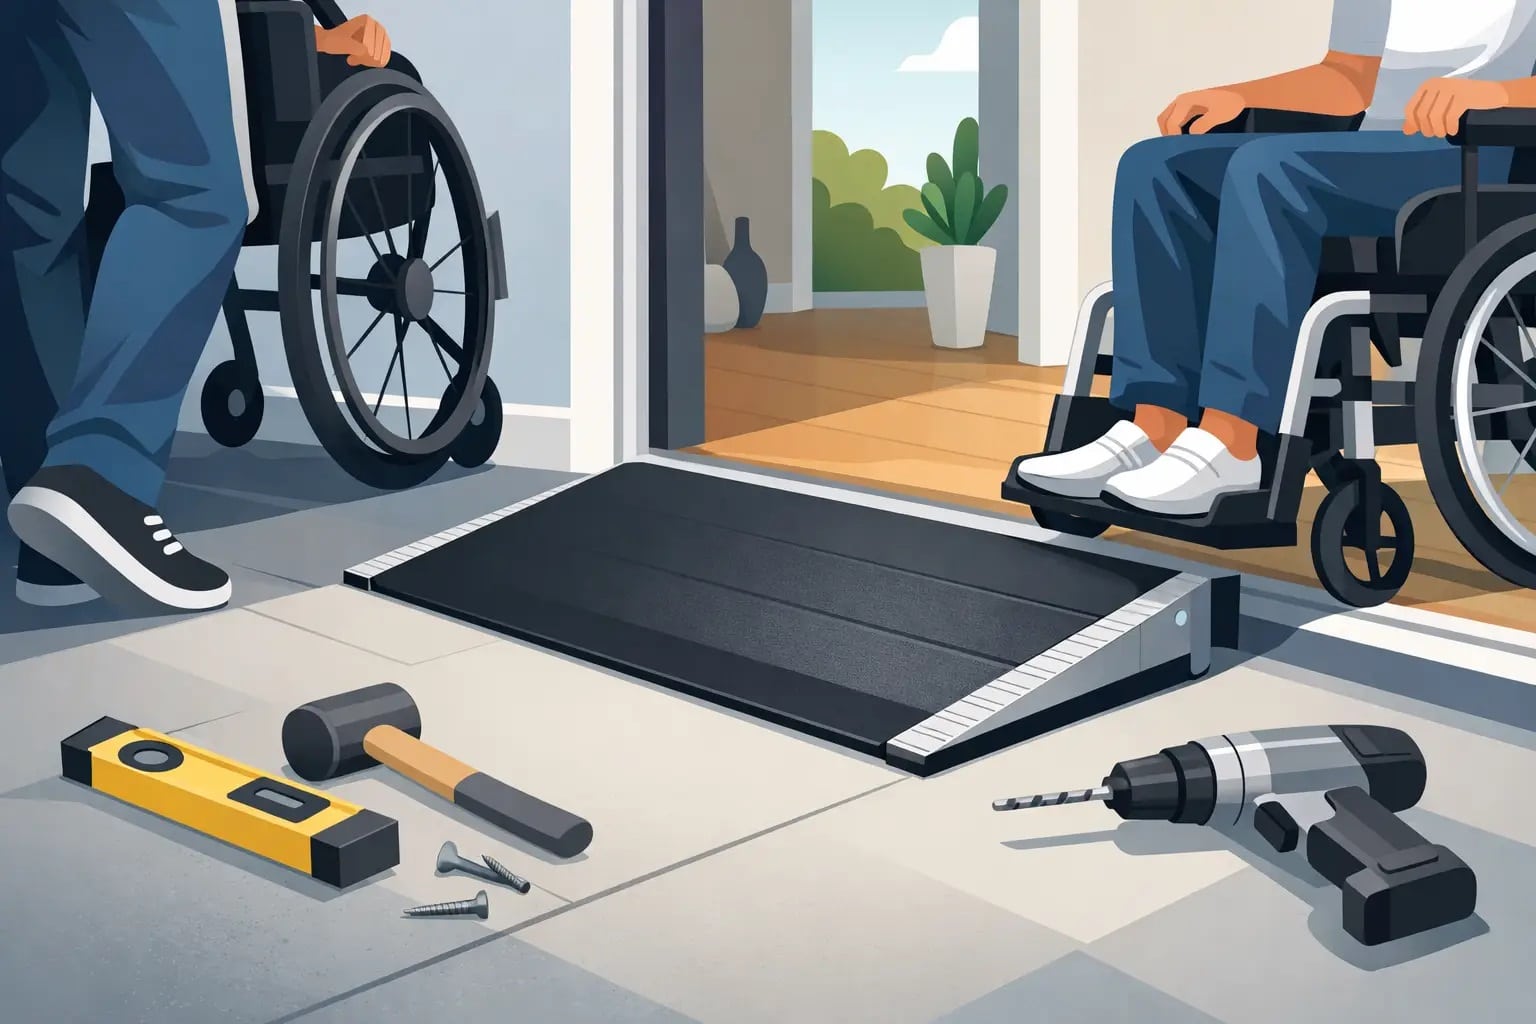
Most low-profile rubber ramps can be fitted without specialist tools, while fixed aluminium products may need screws, adhesive or brackets supplied by the manufacturer. Always follow the instructions supplied with the specific ramp, as fitting methods vary by design and material.
Position the ramp dry first
Place the ramp against the threshold without removing any backing or applying fixings. Centre it across the usable doorway, then check that the top edge meets the threshold cleanly. There should be no visible gap that could catch a small wheel or walking stick tip.
Walk over it and, if possible, roll the intended wheelchair, walker or scooter across it at a controlled pace. Check that it does not slide, flex excessively or lift at the edges. Test access from both directions where the ramp is intended for two-way use.
Trim only when necessary
Some rubber threshold ramps can be cut to suit the width of a doorway. Mark the required line clearly and make small, controlled cuts using suitable tools. Keep the cut square so the end sits neatly against the frame or wall.
Do not cut through reinforced sections, drainage channels or fixing points unless the manufacturer specifically confirms that this is suitable. If the threshold is unusually shaped, a standard ramp may not provide a safe fit, and a made-to-measure or alternative access solution may be more appropriate.
Secure the ramp where required
A heavy rubber ramp on a clean, flat indoor floor may remain stable under its own weight. However, a ramp should be fixed if it moves in normal use, is installed outdoors, is used by a powered mobility product or could be disturbed by foot traffic.
Use only the recommended fixing method for the floor type. Screws and plugs may suit concrete or timber, while some products use a suitable construction adhesive or double-sided fixing tape. Do not rely on adhesive alone where the ramp is subject to repeated heavy loading or poor weather unless the product guidance says it is designed for this use.
When drilling near a doorway, take care around underfloor heating, electrical cables, drainage and damp-proof details. If you are unsure what lies beneath the surface, seek professional advice before drilling.
Carry out final safety checks
Once fitted, confirm that every edge is flush with the floor and that the ramp cannot shift sideways. Open the door fully and check that it does not scrape the ramp. Test it with the heaviest item likely to use it, while staying within the stated weight capacity.
Look closely at the ramp surface in wet conditions if it is outside. Water, ice and algae can reduce grip, even on textured materials. Keep external ramps clean and ensure nearby drainage does not direct water onto the access route.
Common fitting problems to avoid
The most frequent issue is choosing a ramp based only on threshold height. A short, steep ramp may technically reach the lip, but it can be uncomfortable or unsafe for a wheelchair user. Allowing more length often improves control and reduces the chance of grounding a scooter or catching footplates.
Another problem is fitting a ramp that is wider than the practical opening. It may look tidy across the full doorway, but it can interfere with a door, architrave or nearby furniture. Equally, a narrow ramp can leave insufficient space for a mobility aid to cross squarely.
Avoid placing loose mats at either end of the ramp. They can bunch under wheels or slide when stepped on. If a mat is needed for weather protection, use a low-profile, non-slip option placed far enough away that it does not affect the approach.
When a threshold ramp is not enough
Threshold ramps are intended for minor changes in level. If the entrance has multiple steps, a high sill, an uneven pathway or limited landing space, a larger ramp system or home adaptation may be required. The same applies when a mobility scooter needs to cross a threshold with limited room to manoeuvre.
Where there is any doubt about gradient, load capacity or fitting onto an external entrance, it is sensible to discuss the measurements and intended use with a mobility equipment specialist. The right ramp should make everyday access feel more secure, not demand extra effort every time the door is used.