

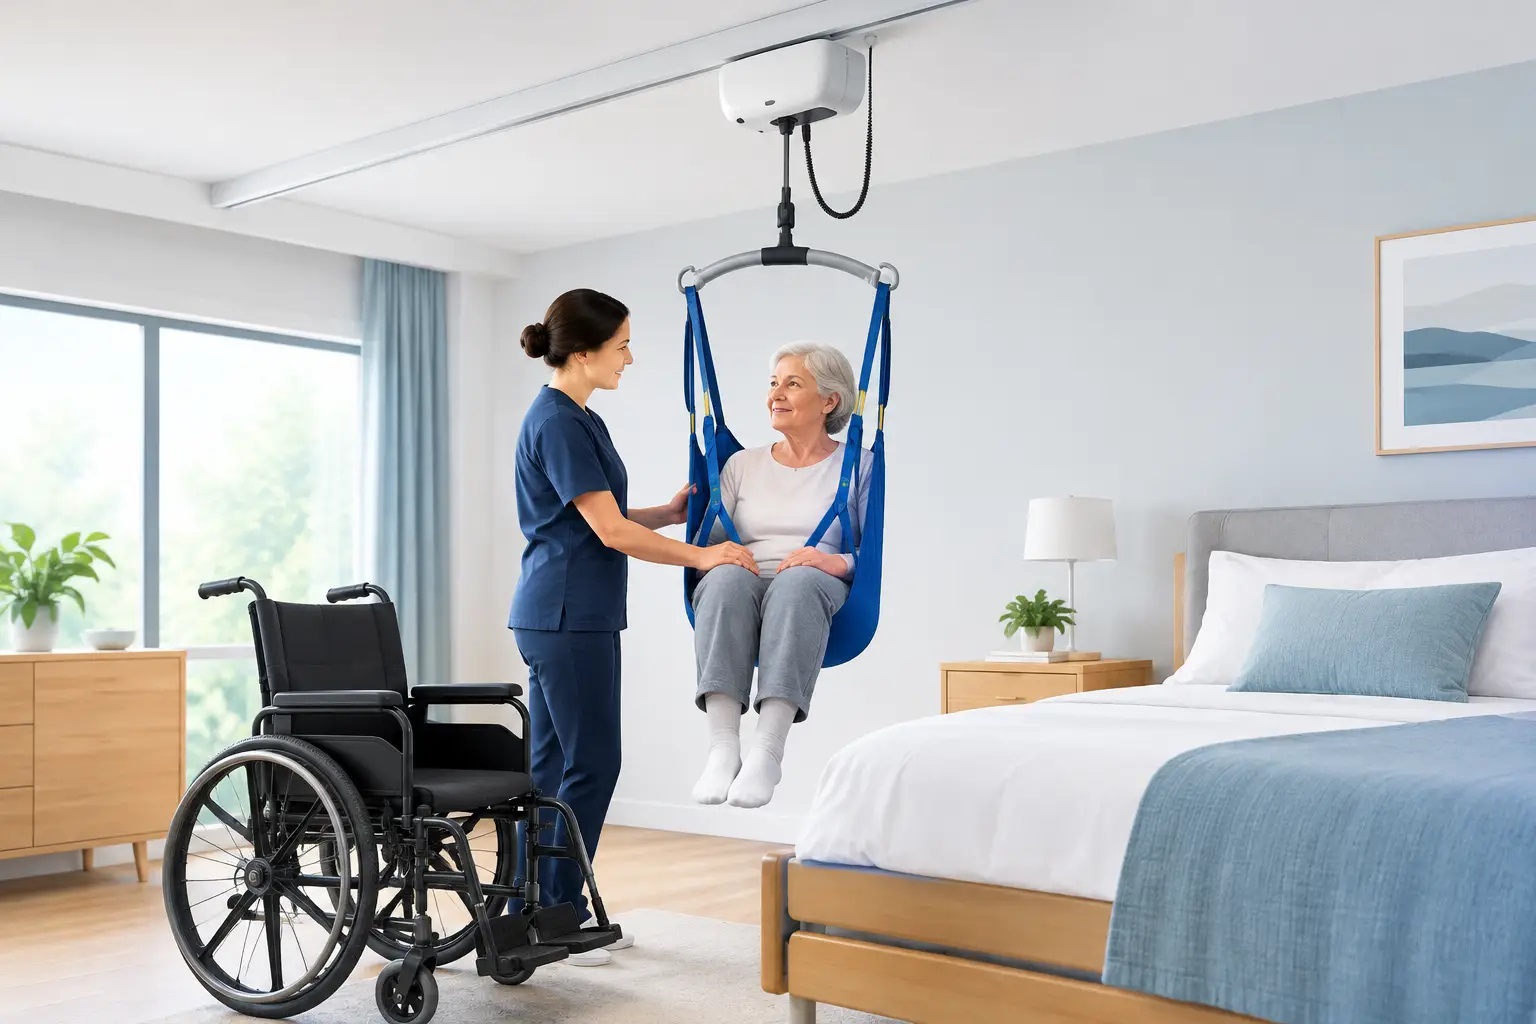
A ceiling hoist can turn a difficult daily transfer into a safer, more manageable routine. However, ceiling hoist installation is not simply a matter of fitting a rail above a bed or chair. The system must suit the person using it, the carer’s working space and the structure of the property.
For many households, the priority is reducing the physical strain involved in moving between a bed, wheelchair, commode, bath or armchair. A correctly specified hoist can support safer transfers while helping the user retain dignity and comfort. The best result starts with a proper assessment of the room, the intended transfer routes and the level of support required.
What a ceiling hoist system includes
A ceiling hoist uses an overhead rail and a powered lifting unit to move a person in a compatible sling. Unlike a mobile hoist, it does not need floor space for legs and castors. This can be particularly useful in bedrooms and bathrooms where furniture, narrow doorways or turning space make a mobile hoist difficult to use.
The main parts are the rail, the lifting unit, the charging arrangement, a spreader bar or attachment system, and the sling. The rail can be fixed in one position, run in a straight line between two transfer points, or form a more flexible track system that covers a larger area of the room.
A straight-track arrangement may be suitable where transfers always take place between the same two locations, such as a bed and wheelchair. A room-covering system offers more freedom of movement, but it requires more planning and can involve a higher installation cost. The right option depends on the user’s needs now and whether those needs may change over time.
Start with a home assessment
A site survey should take place before any equipment is ordered. This is where practical decisions are made, rather than after the rail has been installed. The assessor will consider the user’s mobility, weight, posture, transfer needs and the type of sling required. They should also discuss who will operate the hoist and whether one or two carers are needed for safe use.
The room layout matters just as much. A rail that looks suitable on a drawing may not allow enough clearance around a profiling bed, rise recliner, wheelchair or bedside furniture. Doors, wardrobes, radiators, light fittings and window positions can all affect the route and height of the rail.
It is helpful to identify every transfer the system needs to support. For example, a person may need to move from bed to wheelchair each morning, then from wheelchair to a shower chair or commode later in the day. A system designed only around the bed may not provide the practical support the household actually needs.
Consider future requirements
Needs can change after surgery, following a diagnosis or as a condition progresses. If a room is being adapted, it can be sensible to consider a rail layout that allows for future equipment or an additional transfer route. This does not always mean choosing the largest system available. It means avoiding a layout that becomes restrictive shortly after installation.
The assessor should also consider ceiling height. A very low ceiling may limit lifting range, while a high ceiling can affect the length of the lifting strap and the practical position of the charging point. Sufficient clearance is needed to complete transfers without compromising comfort or safety.
Structural checks are essential
The ceiling must be capable of carrying the intended load. This includes the weight of the user, the sling and hoist equipment, plus the forces created while lifting and moving along the track. A professional installer will inspect the ceiling construction and determine how the rail can be safely secured.
Some properties have suitable timber joists in the required position. Others may have steelwork, concrete ceilings, suspended ceilings or joist directions that do not align with the preferred rail route. A suspended ceiling alone is not a structural fixing point, so additional support may be needed above it.
Where direct fixing is not possible, installers may use structural brackets, support frames or other approved methods. In some homes, a freestanding gantry-style solution may be considered when building work is unsuitable. Each option has different space, appearance and cost implications, which is why the survey should come before committing to a product.
Do not rely on an assumption that a ceiling is strong enough because it supports a light fitting or appears solid. Ceiling hoist installation requires specific structural assessment and appropriate fixings. This is not a DIY project.
Choosing the rail layout
Rail design should follow the transfer route rather than the shape of the room. The simplest installation is usually a straight rail. It is often a good choice for predictable transfers and can be less visually intrusive than a larger system.
A turntable or curved rail can connect routes between different areas, such as a bedroom and en-suite bathroom. These systems can be valuable where the person needs support across more than one space, although they require careful positioning to ensure the hoist can travel smoothly through each section.
A room-covering system commonly uses two parallel rails with a moving traverse rail between them. This enables movement across a wider area and gives carers more flexibility when positioning the user. It can be particularly helpful in a bedroom where a person needs to be transferred from bed to wheelchair, chair or changing area without repeatedly repositioning furniture.
The layout should leave carers enough room to work safely. A ceiling hoist reduces manual handling, but it does not remove the need for good moving-and-handling practice. Carers must still be able to position the sling, guide the user and manoeuvre the destination equipment correctly.
Power, charging and controls
Most ceiling hoists use rechargeable batteries. The lifting unit may charge at the end of the rail, at a dedicated charging point or through a continuous charging arrangement. The choice affects where the unit is parked when not in use and how easy it is for carers to keep it ready.
A charging point should be accessible without creating a trip hazard or forcing a carer to reach over furniture. If electrical work is required, it should be planned as part of the installation rather than treated as an afterthought. The installer should explain the charging routine, battery indicators and what to do if the equipment needs attention.
Controls are usually operated by a simple handset. Some systems also offer additional control options, but these should be selected for a clear practical reason. For example, a user with limited hand function may benefit from an alternative control arrangement, while a carer-led system may only need straightforward handset operation.
Slings are part of the installation decision
A hoist is only as suitable as the sling used with it. Sling choice depends on the user’s body shape, head control, skin condition, posture, level of mobility and the transfer being completed. A sling for a general bed-to-chair transfer may not be the best option for toileting or bathing.
The correct size is equally important. An unsuitable sling can cause discomfort, poor positioning or increased risk during transfers. It should be compatible with the hoist attachment system, used according to its instructions and checked regularly for signs of wear.
Where there are complex seating, positioning or clinical needs, input from an occupational therapist, physiotherapist or moving-and-handling professional may be appropriate. This is especially relevant for users with limited trunk control, contractures, pain, fragile skin or a high level of dependency.
Installation day and handover
On installation day, the fitting team should confirm the agreed rail position, protect the work area and complete the structural and electrical work required. The exact duration varies with the rail type, ceiling construction and whether adaptations are needed. A straightforward straight rail may be completed relatively quickly, while larger multi-room systems can take longer.
Once fitted, the equipment should be tested before it is used for everyday transfers. The handover should cover safe operation, charging, emergency lowering, sling attachment, cleaning and routine checks. Anyone who will regularly use the hoist should be shown how it works, not just the person who arranged the purchase.
Ask questions during this stage. Carers should be confident about where to park the hoist, how to recognise a low battery, how to inspect the sling and who to contact if the equipment develops a fault. Written instructions should be kept somewhere accessible.
Ongoing servicing and safe use
A ceiling hoist needs regular inspection and servicing to remain safe and dependable. The equipment should also receive statutory thorough examination where required under lifting equipment regulations. The exact schedule depends on the equipment, setting and use, so follow the manufacturer’s guidance and seek advice from a qualified provider.
Between services, users and carers should check the rail, lifting strap, handset, spreader bar and sling before use. Report unusual noises, damaged parts, frayed straps, loose fittings or changes in the way the hoist travels. Do not continue using equipment that appears unsafe.
A well-planned ceiling hoist does more than move someone from one place to another. It can make everyday routines calmer for the person being transferred and more sustainable for the people providing care. The most useful next step is a professional assessment that starts with the transfers you need to complete at home.